Icon library
Intro
In the side menu on the admin panel we have a special section for uploading custom icons that can be embedded in the pages and links / buttons.
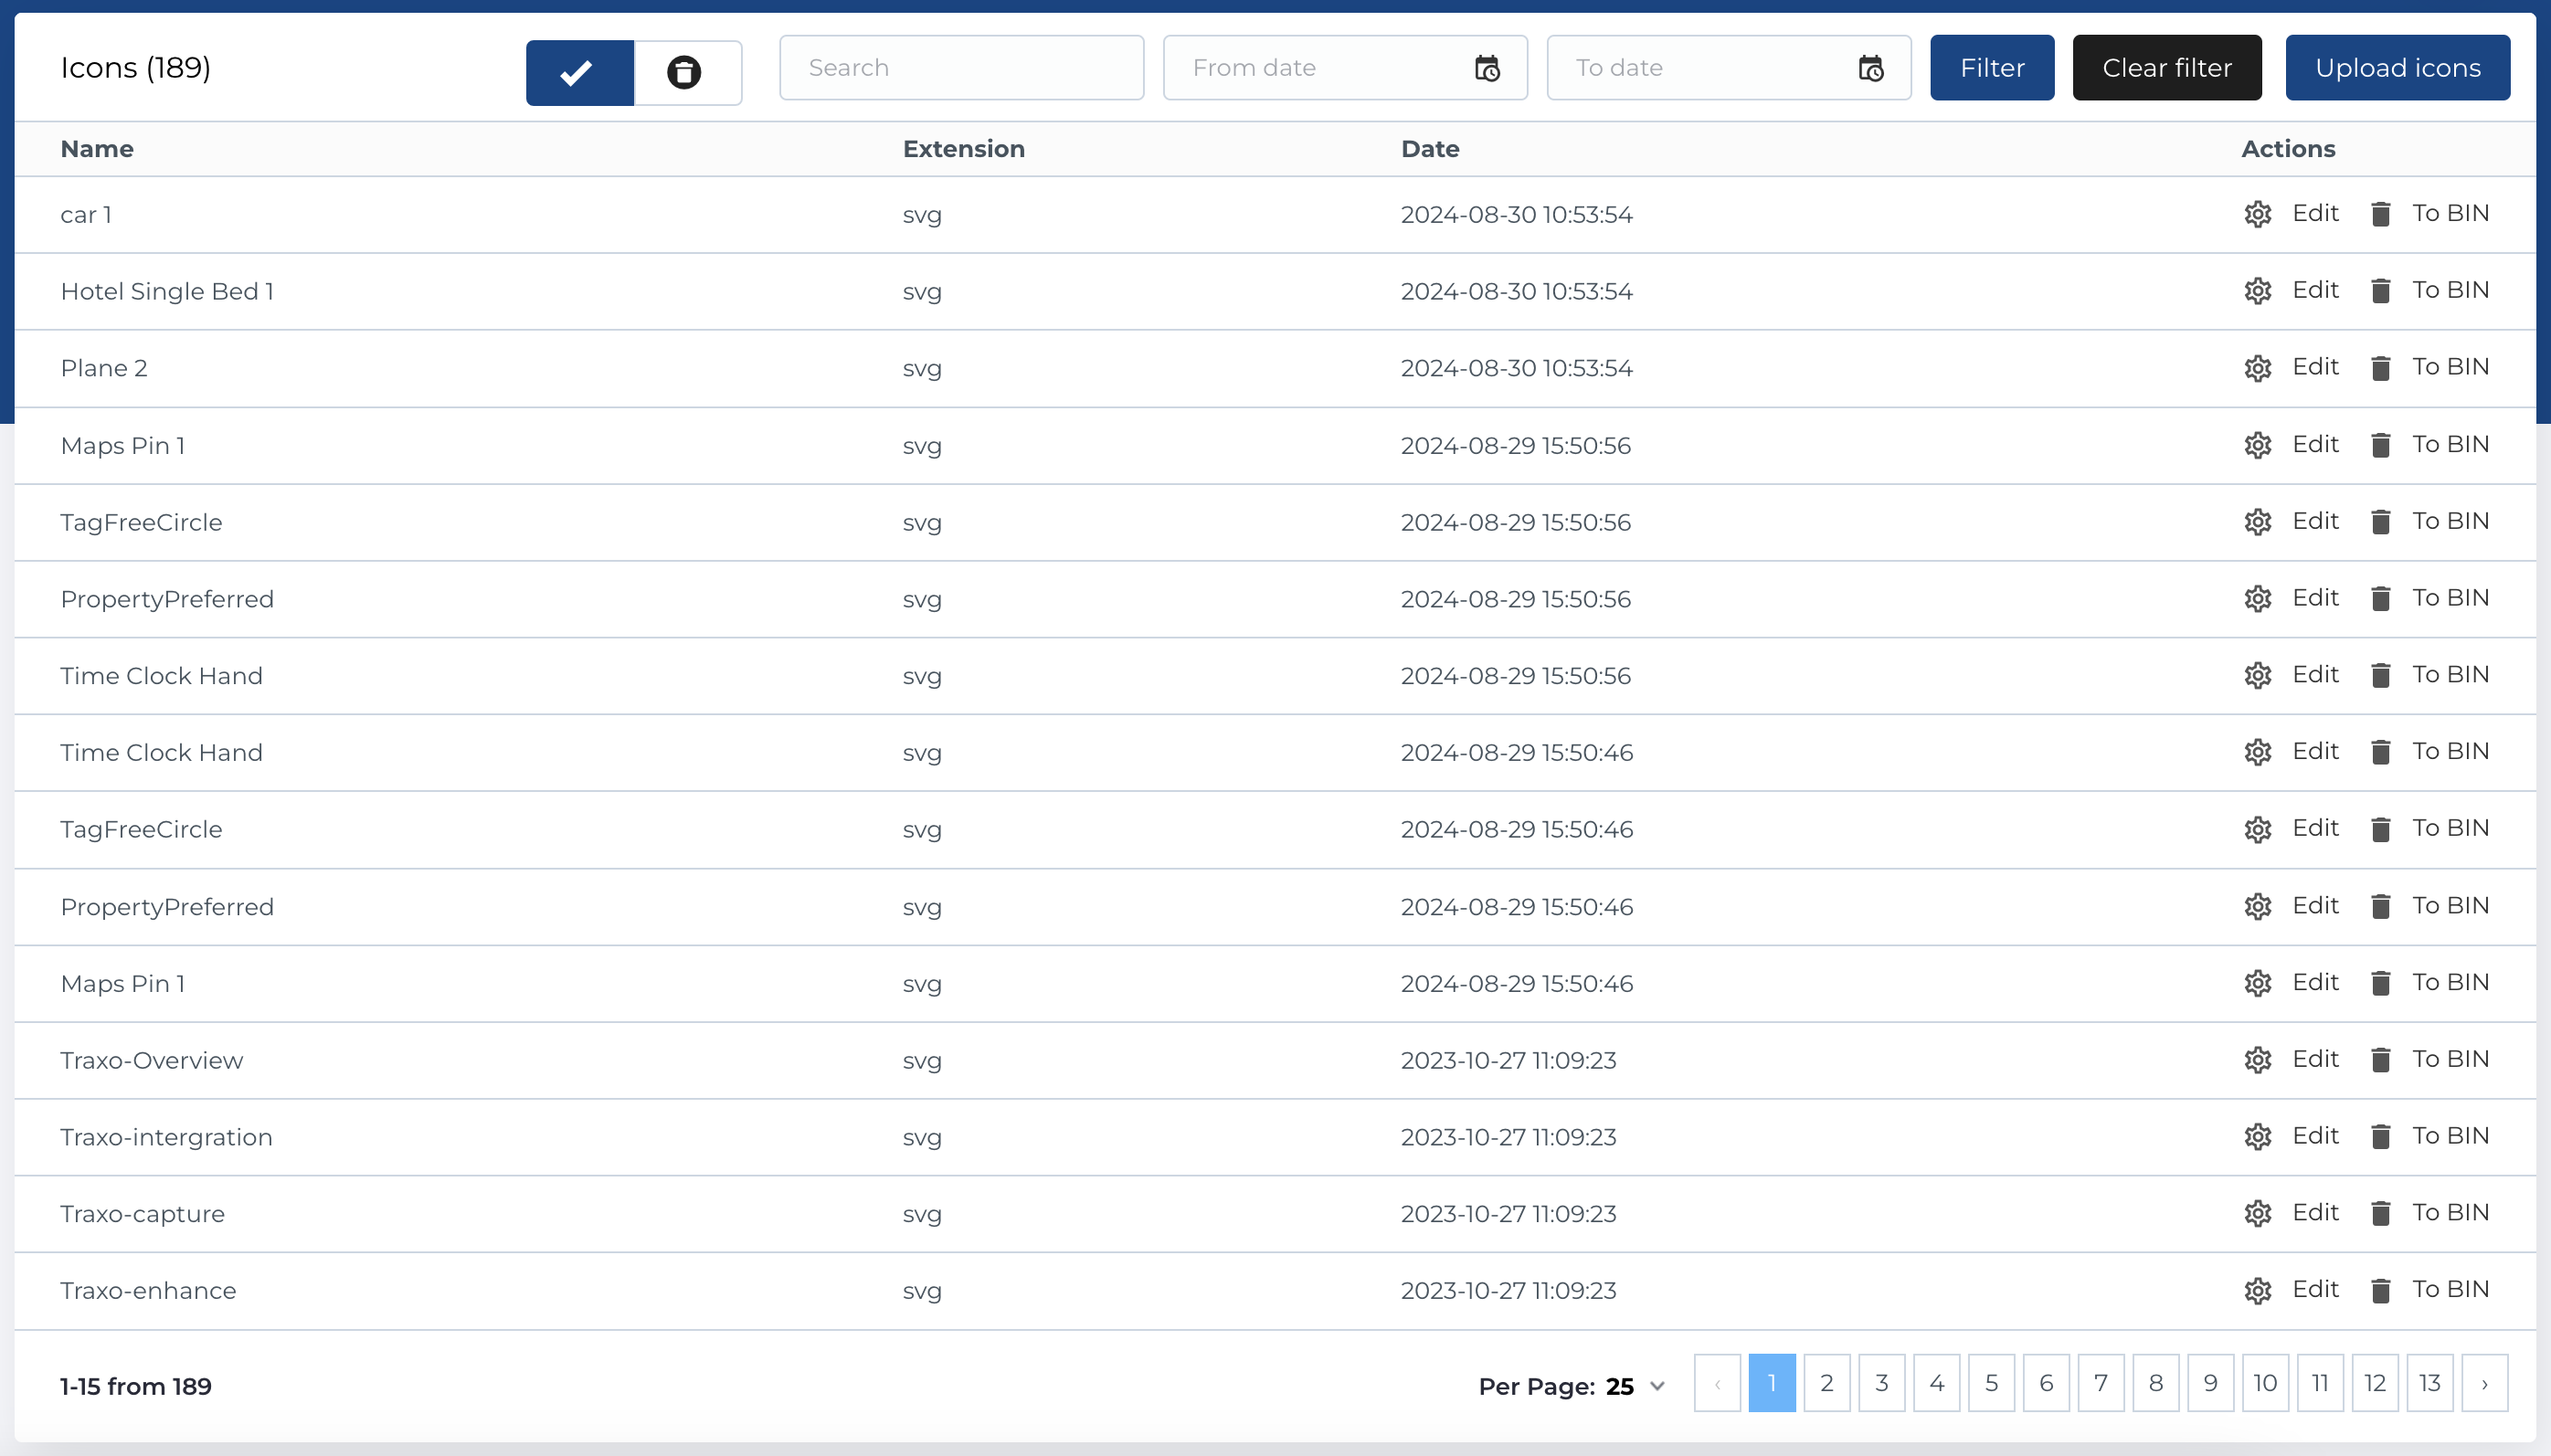
Icon library table
The table contains a list of icons with the following columns:
- Name: The name of the icon file.
- Extension: The file extension (e.g., .svg, .png, etc.).
- Date: The date the icon was added or last modified.
- Actions: Management buttons for the icon file.
Available Actions:
- Active / Bin Switcher: Move the icon file to the bin for temporary deletion, with options to either restore or permanently delete it.
- Search (By Name): Search for an icon by its name.
-
Filter by Creation Date: Use the date picker to filter icons by their creation date (a From and To date picker is available).
- Filter Button: Click to submit the filter form.
- Clear Filter Button: Clears the applied filters.
- Upload Button: Opens the upload dialog to add a new icon file.
- Edit Existing Entity: Modify an existing icon entry.
- Move to Bin: Temporarily move the icon to the bin.
- Restore Entity: Restore an icon from the bin.
- Delete Entity: Permanently delete an icon from the bin.
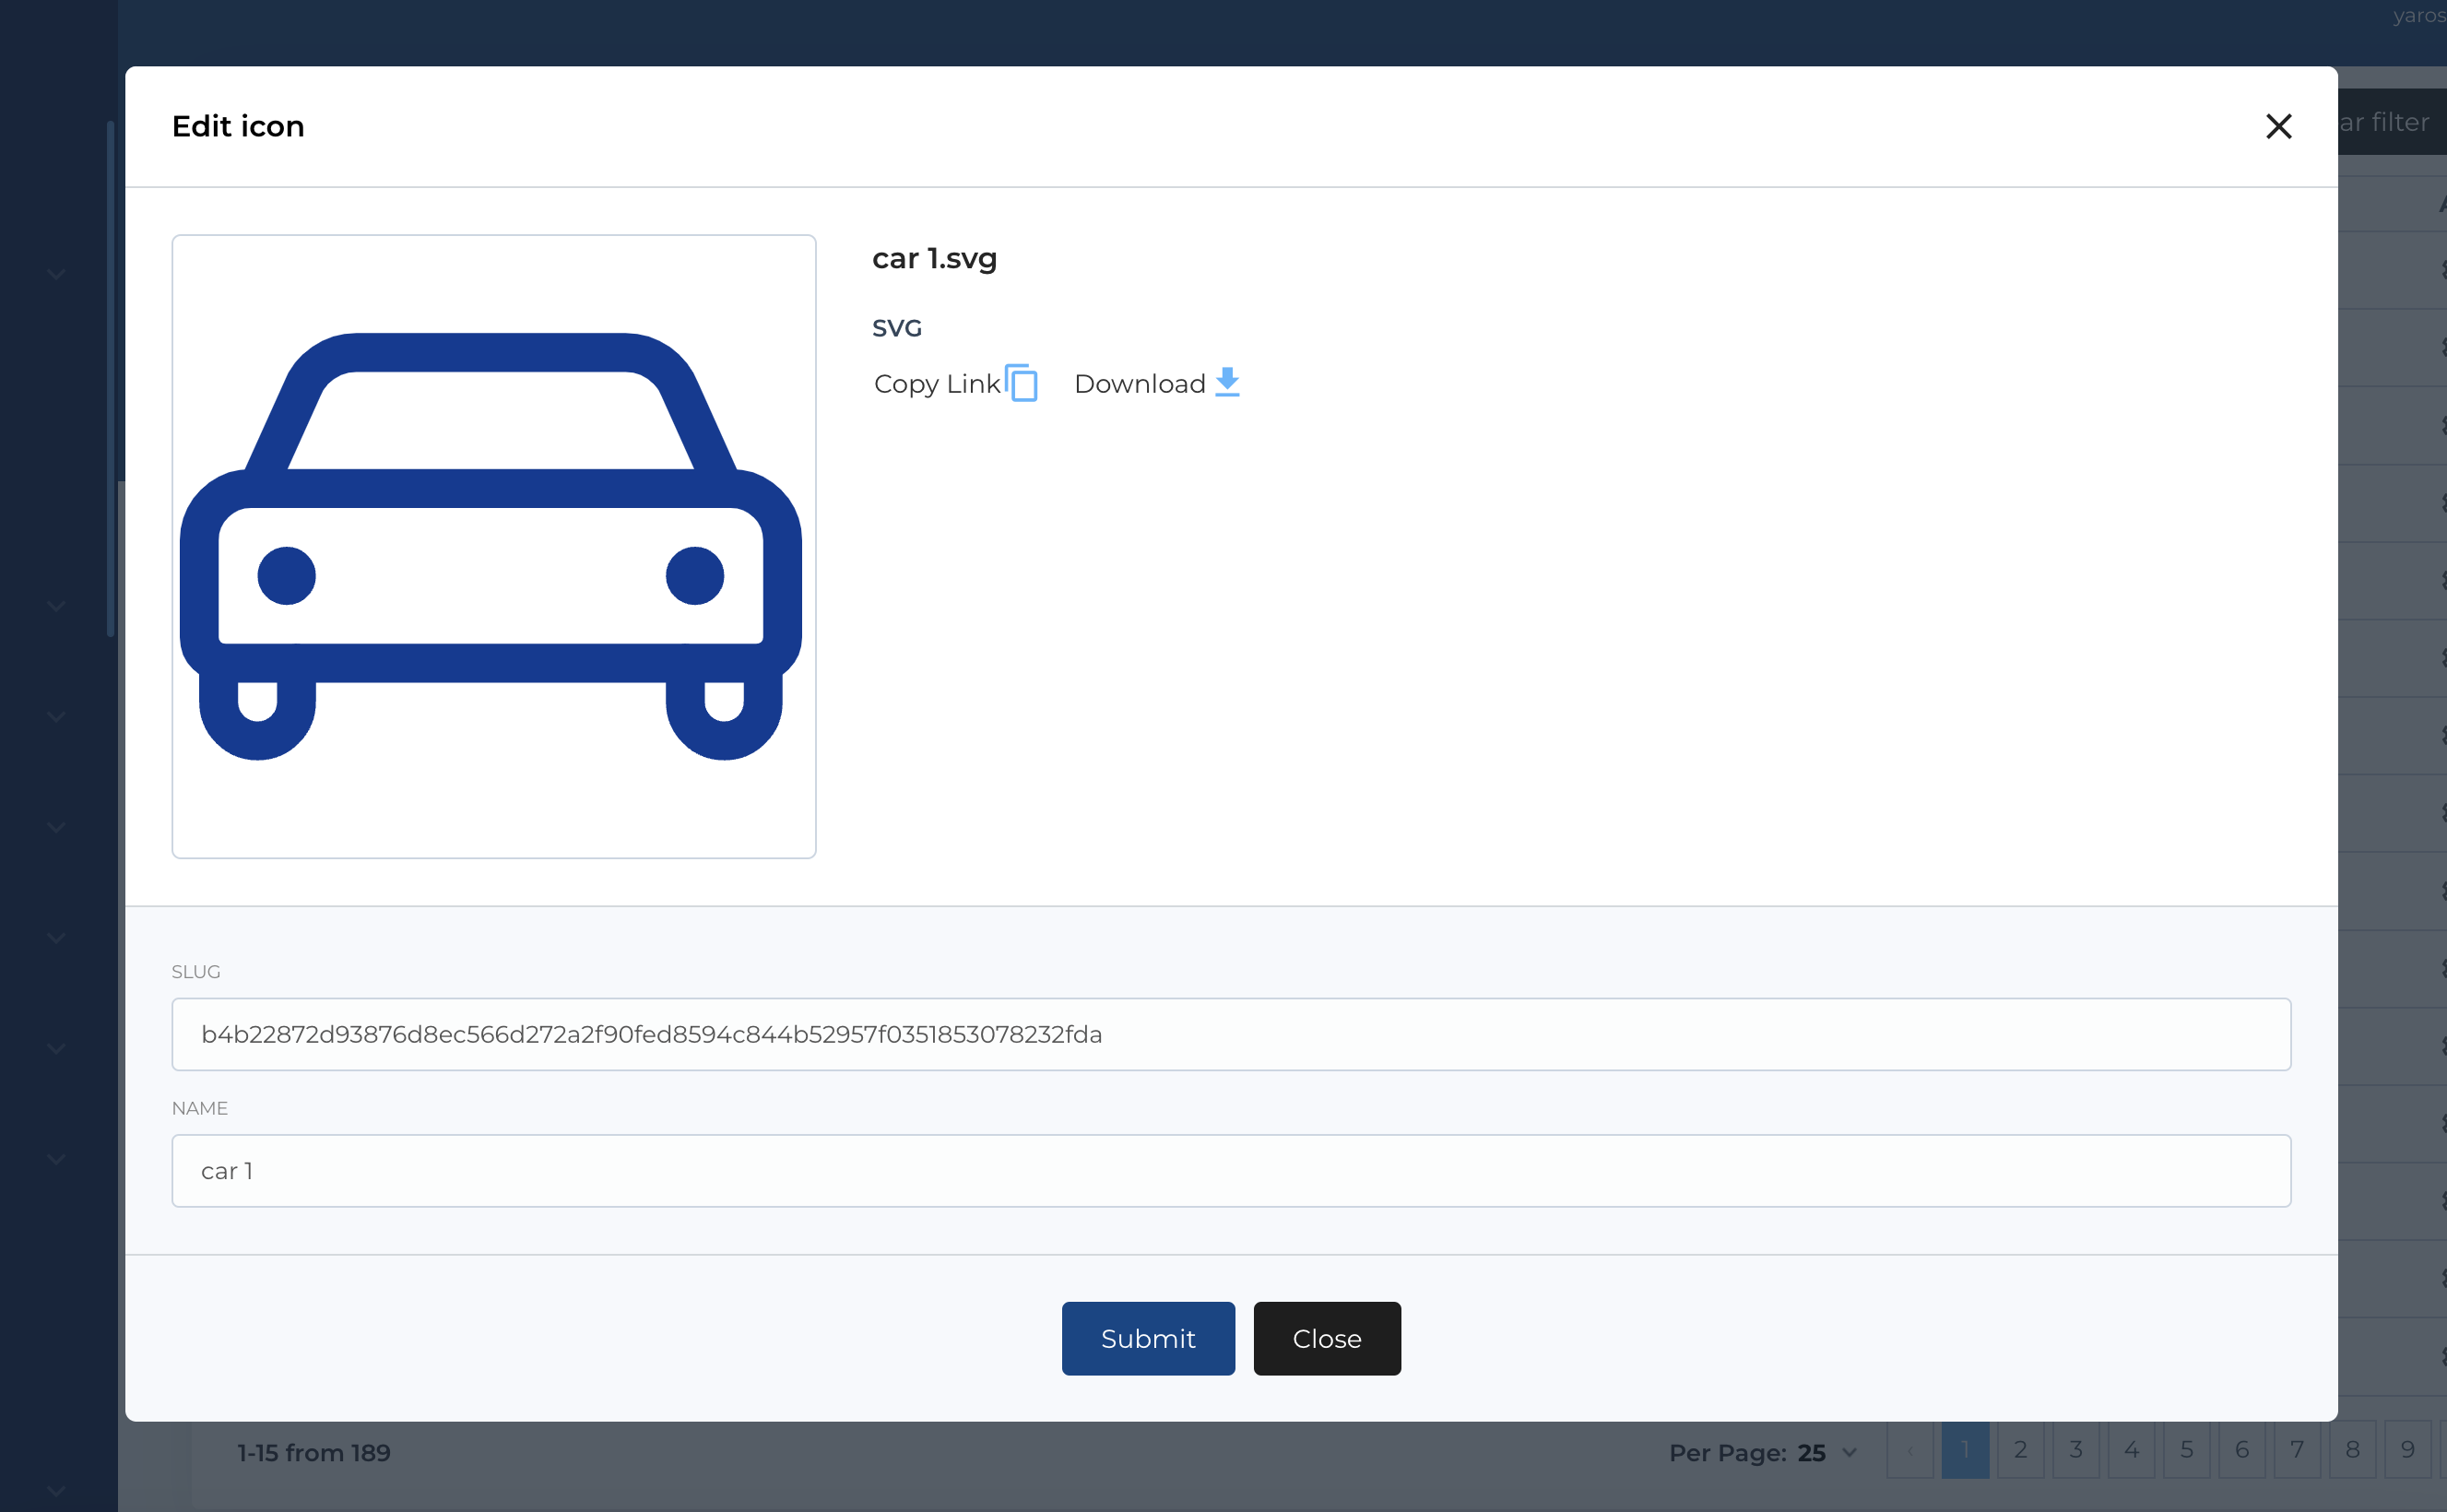
Edit icon
The Edit Icon modal is opened by either clicking the icon’s name in the table or selecting the Edit button in the Actions column.
Editable Fields:
- Slug (UUID): A unique identifier for the icon, allowing it to be referenced in the system.
- Name: The name of the icon file.
Additionally, there are options to either Download or Copy Link of the icon using the respective buttons.
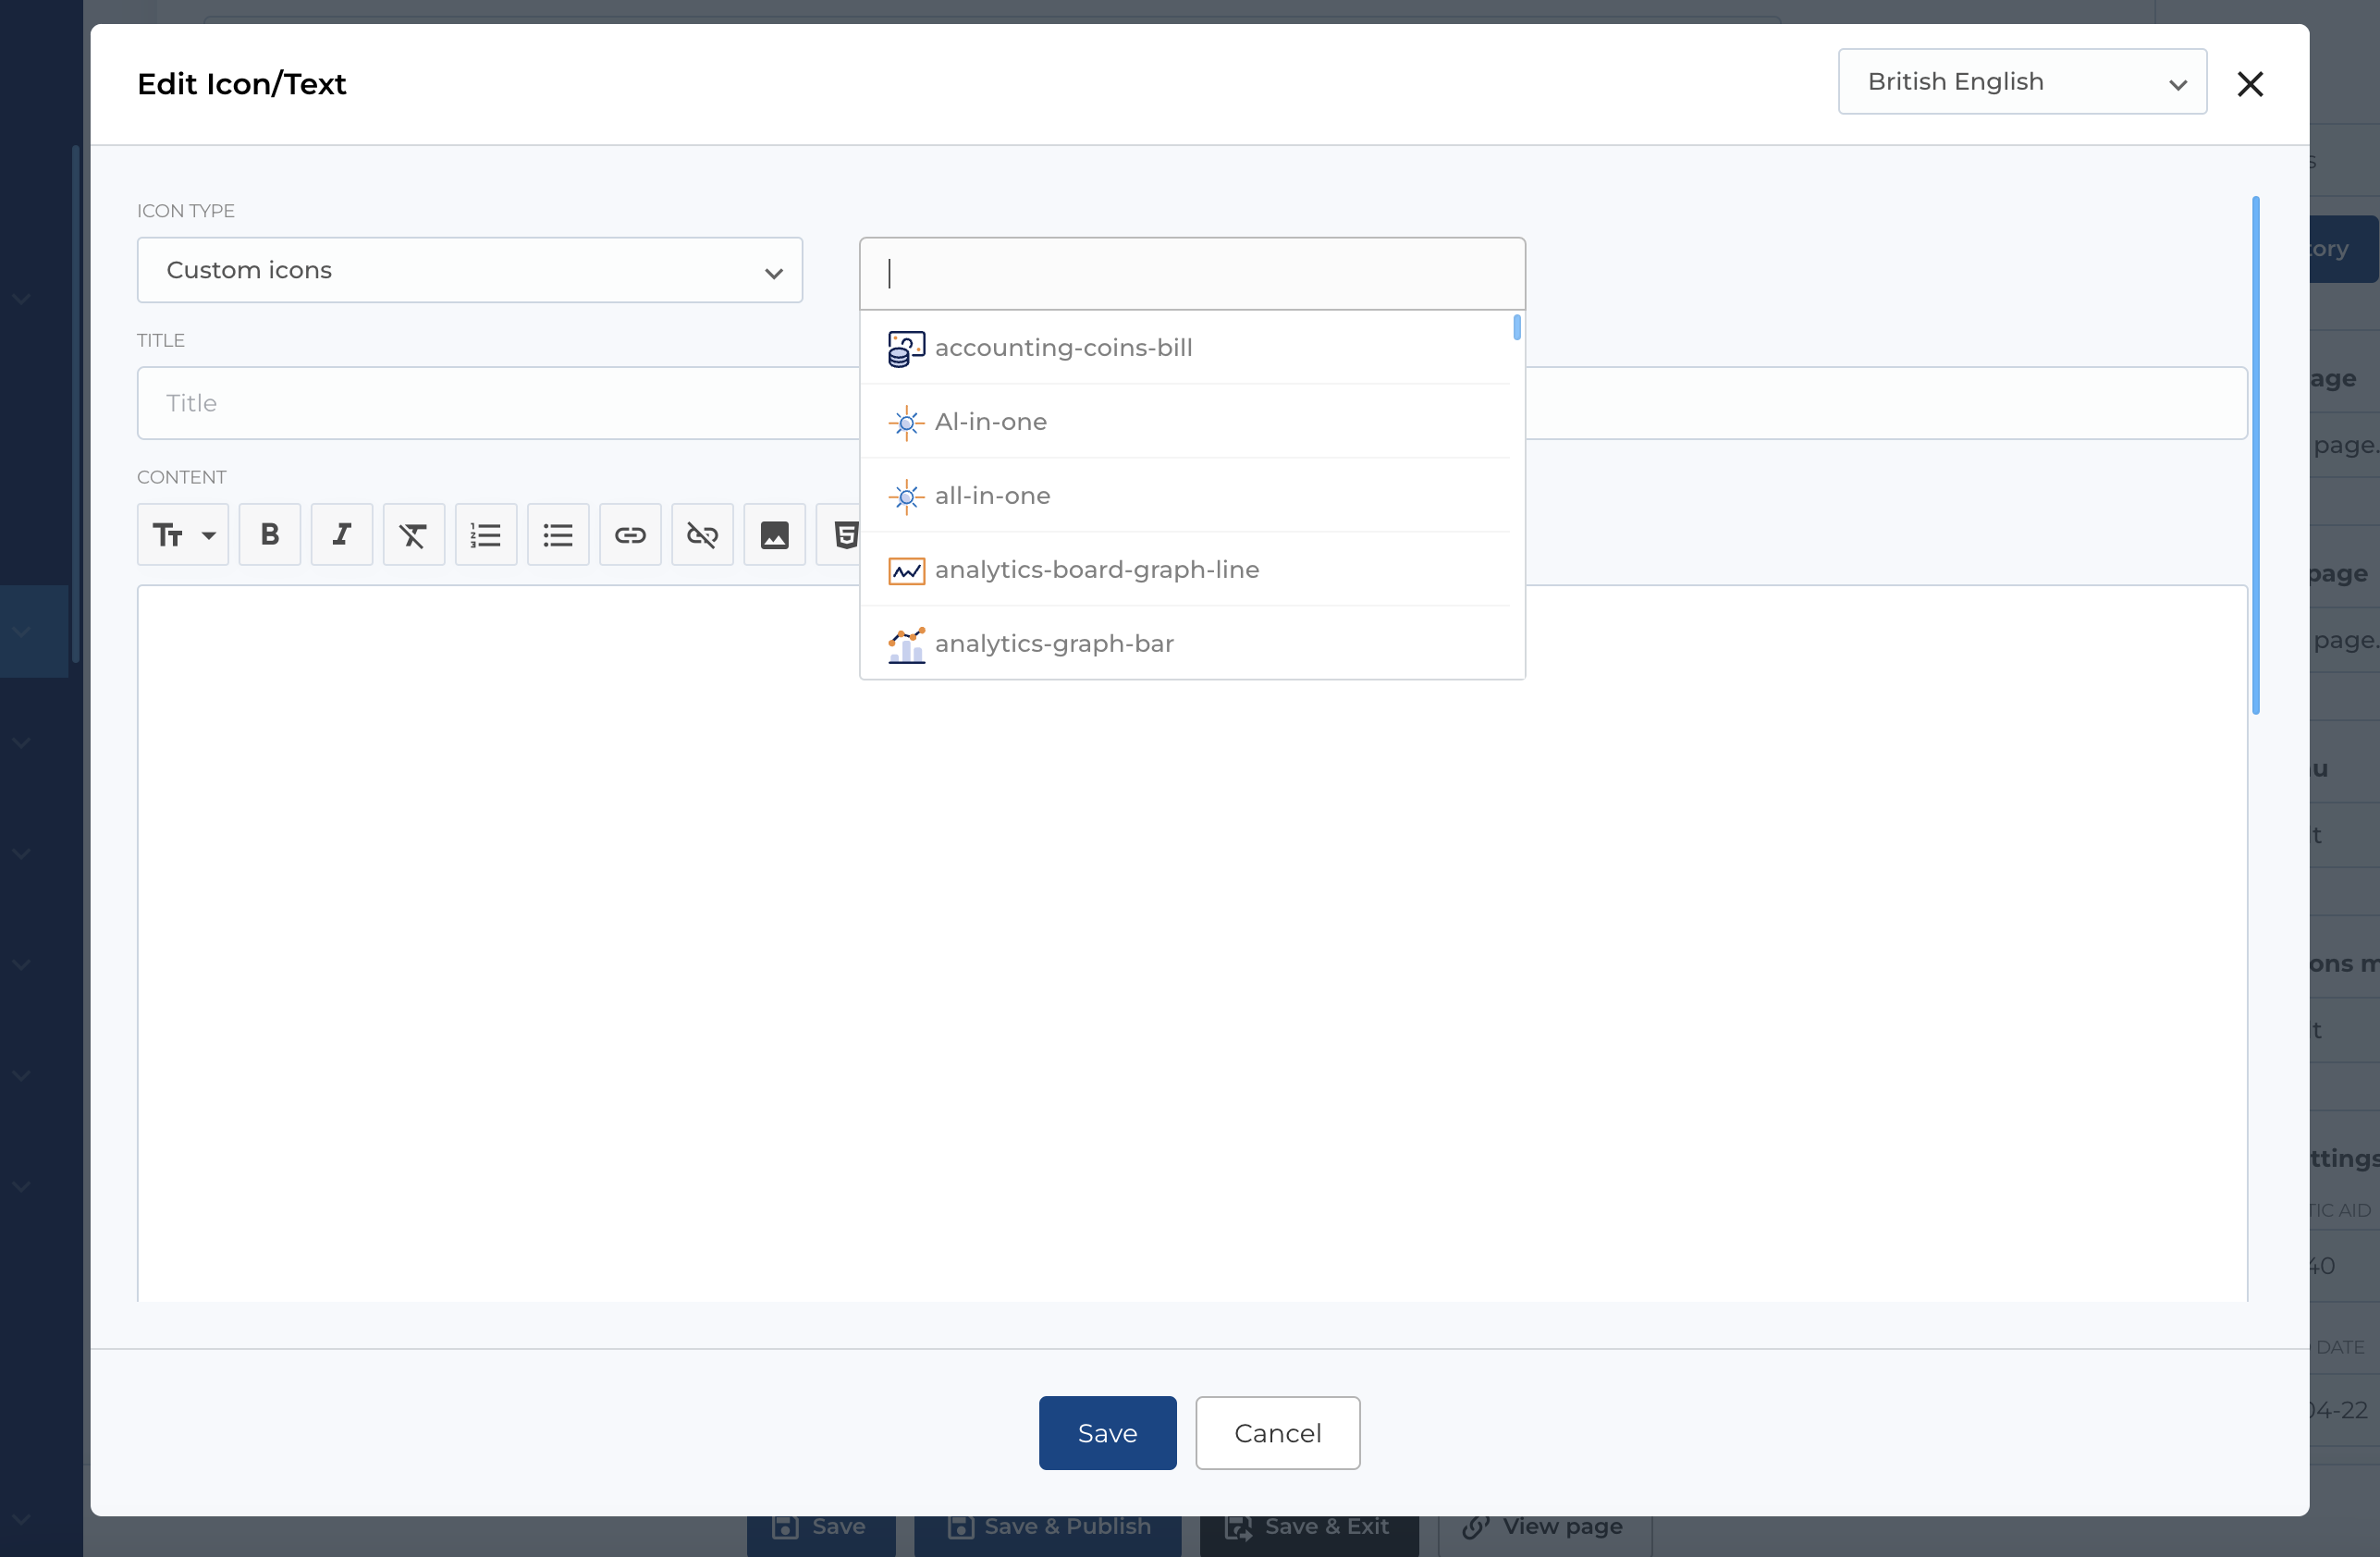
Using icons in menu
For some menu items like sub menu items (level 2) you can select icon, to display below menu item text link.
First you need to select icon type Custom icons and after dropdown with icons will be available
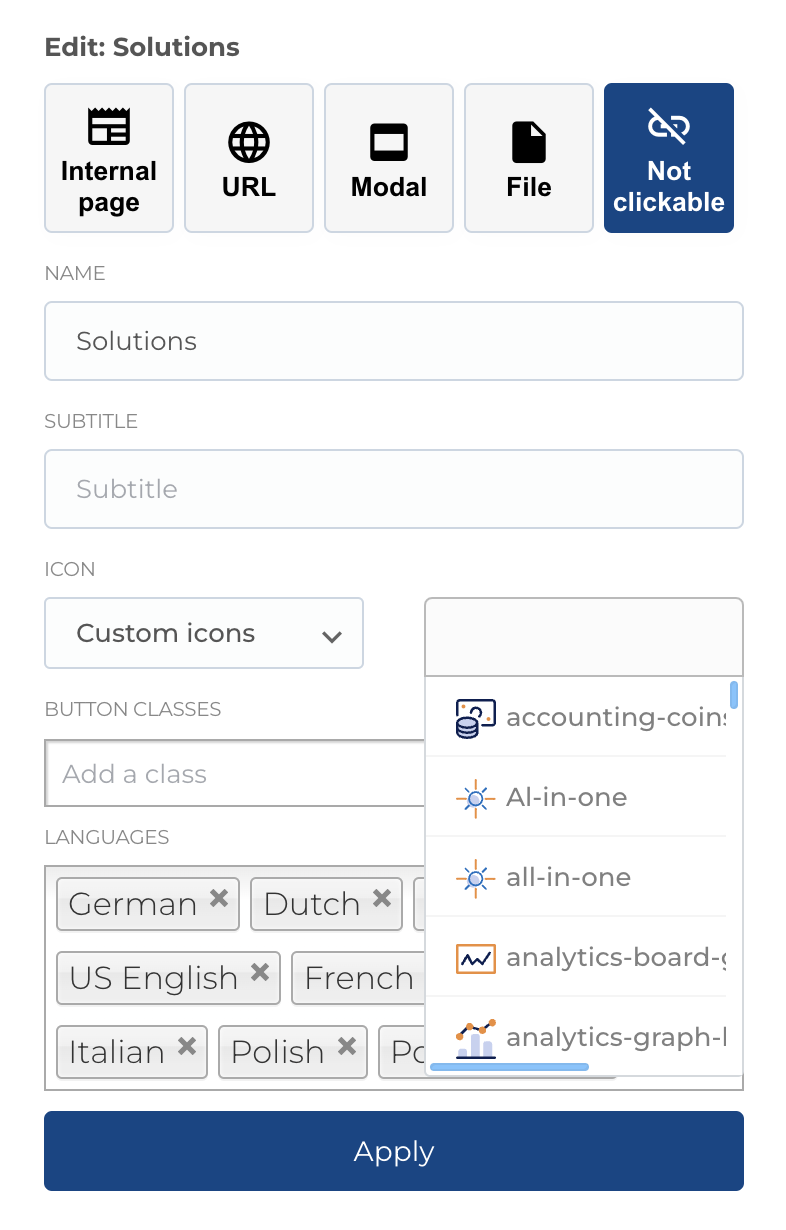
Using in blocks
Icon selection available for extra blocks like Icon/Text, Tab, Tab v2. As for menu item, first you need to select icon type Custom icons and after dropdown with icons will be available